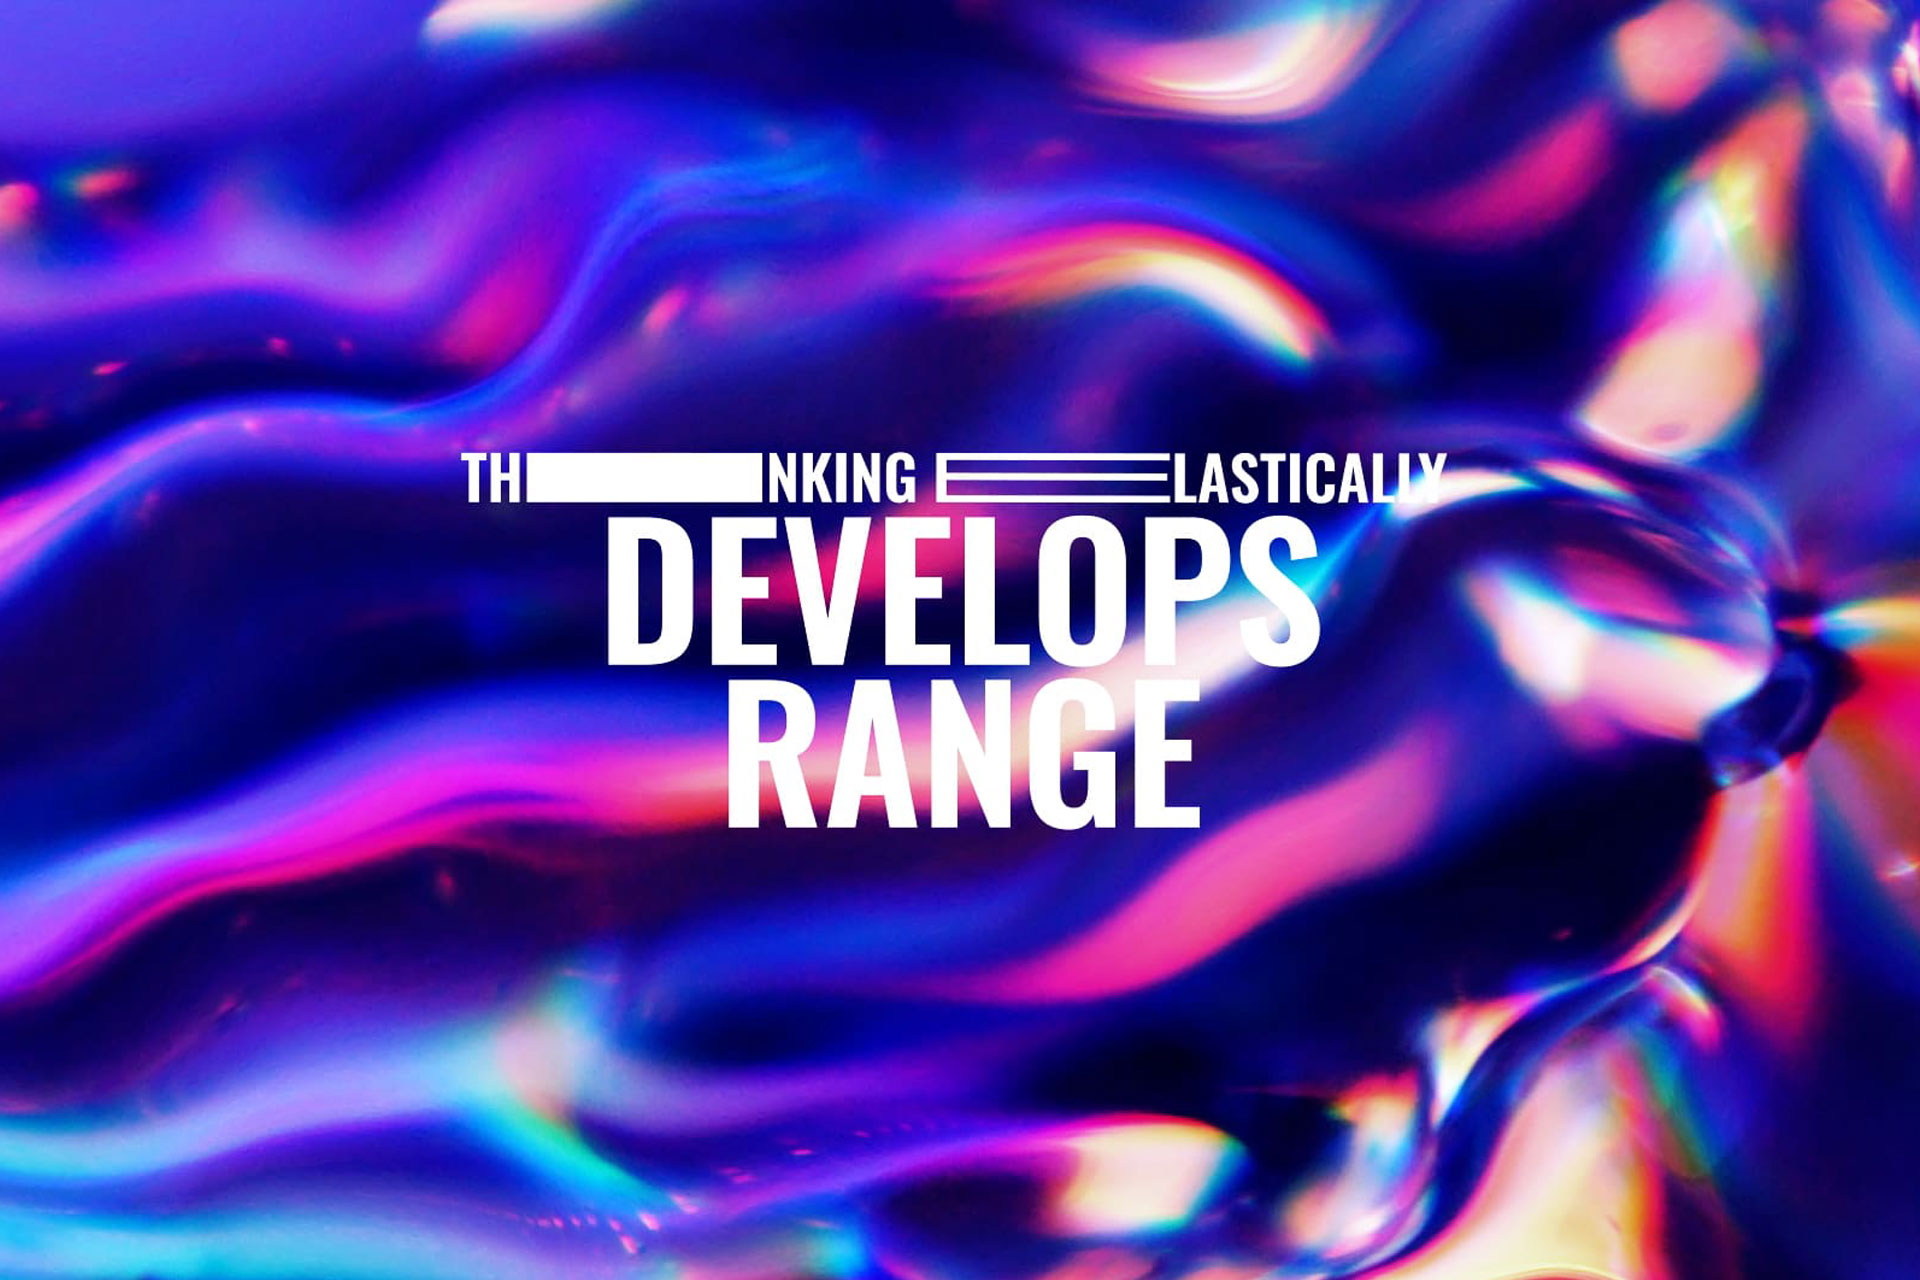
For our new Elastic self-promo video, we wanted to create something that fully encapsulated the ‘Elastic Thinking’ philosophy, and show how this can give you Range.
In this digital age, we designers (and everyone else, really) spend so much of our professional and personal time in front of computers and screens. We wanted to use this an opportunity to do something practical – to experiment.
It was time to put down the After Effects plug-ins and pick up the camera, and practice what we preach – that thinking elastically allows you to see things from a different perspective.
Concepting & Experimenting
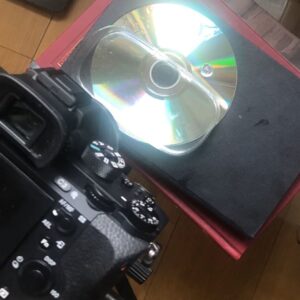
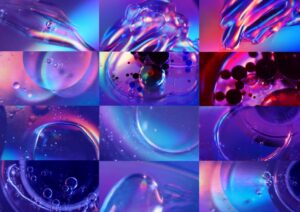
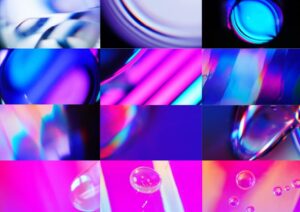
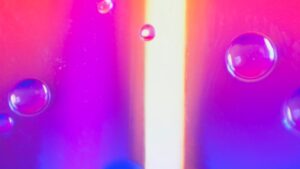
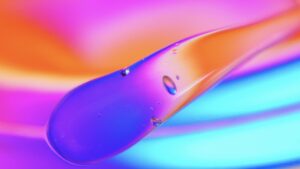
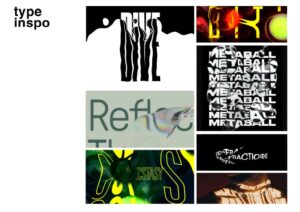
I decided to experiment with reflection and refractive lighting – testing out macro photography of glass, water, oil and hair gel on CDs and holographic paper. After boosting the colours in After Effects, I could see it coming together.
Typography
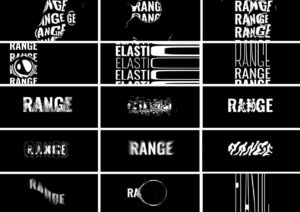
Every good video needs a strong script and to turn these experiments into a fully-fledged brand video, we needed solid messaging to accompany the fun visuals. I wanted the type to be bold and integrate fully within the footage – to feel like it was part of it.
Initially experimenting with lots of different ways to animate the type for each shot, led to a more simplified approach – the classic stretch. After all, we are called Elastic.

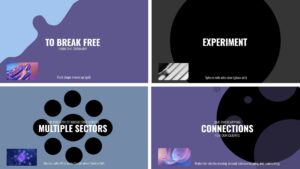
Animatic
This moving storyboard helps to work out the overall timing and pacing (and develop a structure) of the video. And understand how each section will slot together and transition with the script. The thumbnail-sized style-frame in the corner gives an idea of how the final shot will look.
Experimental projects like this one can be difficult to accurately plan and pin down – and there is also an element of waiting to see what magic happens on the day of filming (especially with something as unpredictable, movement-wise as water).
Which is why it was important to treat this project as a science experiment, of sorts. And do as much testing and trialling as possible.
Filming & Editing
Due to testing various materials and camera shots earlier in the development of the project, the filming stage of the final shots was a pretty painless process. Everything was shot using a macro lens at 100 frames per second (thank you, Sony a7!) which allowed us to edit everything in After Effects to create an immersive slow-motion look.
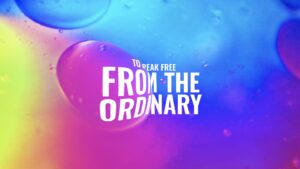
I captured all the footage I knew we needed to illustrate the script and match the animatic first, before gathering hours’ worth of extra shots. The longest part of the process was editing down and colour grading the individual clips.
Once this was completed, I composited the typography with the footage to make it appear integrated within the bubbles and textures
Check out the full video on our Elastic Thinking page, and if you’re looking for video, animation or motion graphics for your business, make sure to get in touch!